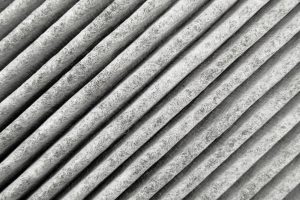
 We talk about changing the air filter in your air conditioner all the time, but the problem we consistently run into is that not many homeowners know how. That’s why we’re going to get into specifics today about how to change your air filter. Different models of air conditioners have different specifications for how to change the filter, but the important part is that the process is relatively similar for all air conditioners, and it has to be done every 1-3 months regardless.
Try to follow along the best you can. Don’t be afraid to call us for AC repair in Leesburg, VA, or for any confusion you have with your air filter or air conditioning system. Changing your air filter is one of the more important things you can do as the owner of an air conditioner, so it’s important you get this done right.
Step by Step
When changing the air filter in your air conditioner, it’s important to take it step by step. Don’t skip any steps because you think you know what you’re doing, that’s a great recipe for disaster or something being misaligned which will lead to repairs later on. Right now, it’s important to do things by the book so that your air conditioner can continue to function hassle free.
Step 1: Turn off the Power
This is a step that a lot of homeowners think they can skip, but it’s important to remember that your air conditioner needs to be turned off when you’re replacing the filter. If you allow it to run or at least try to run without an air filter, you’re bound to run into problems. Once you’ve turned the system off, proceed to step two.
Step 2: Locate the Air Intake
The air intake is where your filter is located. That means the area where air is taken in by the system to be cooled. Think about it this way, the air intake is where the system takes in air, as opposed to letting it out. Once you’ve located this area, you should see clearly the location of the air filter. If not, you can consult the manual to your air conditioning system as well as call a professional to help guide you before you start taking pieces apart.
Step 3: Remove the Old Filter
This step is important. Old filters can either be replaced by new disposable ones or cleaned and reinserted. The problem here is that you need to know which type of filter you have and which process is right for your air conditioner. It should state somewhere in the manual for your system what type of air filter it is and how the changing process should go. If you have any questions, call our team and let us point you in the right direction.
Step 4: Put in the New Filter
Once you’ve cleaned or replaced the filter and inserted the new one, turn the system on and feel the cool air again! You did it! Wasn’t that simple? Remember this process, and feel free to print out this checklist and put it somewhere you’ll remember, like the refrigerator or bulletin board, so you can keep replacing your air filter every 1-3 months like you should!
Do you need help with your air filter? Call our pros at Polar Bear Air Conditioning & Heating Inc. for a professional opinion.
/contact


